camber.nextflow
The camber.nextflow handles workloads that uses the Nextflow framework and is deployed on Kubernetes as execution platform. It is a subclass of the CamberEngine that encapsulates the Python interface for Nextflow CLI.
Basic Usage
from camber import nextflow

command = "nextflow run nextflow-io/hello"

nf_hello_job = nextflow.create_job(
    command=command,
    node_size="XSMALL",
    num_nodes=4
)
# More nextflow workflow below
Under the hood, Camber automatically ensures your command is production-ready. If your command string does not include:
-cor-config→ it appends-c /etc/mpi/nextflow.camber.config-ansi-log→ it appends-ansi-log false(to improve log readability)-profile→ it appends-profile k8s(ensures proper Kubernetes execution)--outdir→ it appends--outdir jobs/<job_id>/outputs
You can override any of these by including them explicitly in your command.
Methods
create_job
Creates a job to run a given pipeline using the NextflowEngine. When a job finishes, by default the output data will appear in the private stash jobs/<job_id>/outputs.
Args
command: str- The full Nextflow command to run the pipeline. For remote pipelines, you can discover them more in nf-core pipelines.
node_size: str- The size of the node. One of
XMICRO,MICRO,XXSMALL,XSMALL,SMALL,MEDIUM, orLARGE. - Default is
XSMALL. num_nodes: Optional[int]- The number of nodes will handle multiple tasks in a parallel manner.
- Default is
1
Returns
CamberJob- An instance of the
CamberJobclass representing the created job.
Examples
Example 1: Basic “Hello World”
This example demonstrates running a simple Nextflow pipeline that writes a greeting to a file.
1. Create your Nextflow pipeline:
Store this file in your Camber Stash (e.g., at ./my_nextflow_pipelines/hello.nf).
#!/usr/bin/env nextflow

process sayHello {
  container 'nextflow/bash'
  input:
    val x
  output:
    stdout
  script:
    """
    echo '$x world!'
    #sleep 5m
    """
}

workflow {
  Channel.of('Bonjour', 'Ciao', 'Hello', 'Hola') | sayHello | view
}
2. Python script to run the pipeline:
import camber.nextflow

# Path to your Nextflow script in Camber Stash
pipeline_path = "./my_nextflow_pipelines/hello.nf" # Adjust if needed

# Custom command for the Nextflow
command = f"nextflow run {pipeline_path}"

hello_job = camber.nextflow.create_job(
    command=command,
    node_size="XSMALL"
)

print(f"Submitted Nextflow job ID: {hello_job.job_id}")

# View logs directly
hello_job.read_logs(tail_lines=50)
Example 2: End-to-End Nextflow: nf-core/sarek with Camber Stash
This tutorial demonstrates how to run the nf-core/sarek Nextflow pipeline on Camber. The pipeline will use a samplesheet uploaded to your Camber Stash to process genomic data. Output files will also be written back to a Camber-managed output directory, typically accessible via Stash.
1. Prepare and Upload Your Samplesheet to Camber Stash
The nf-core/sarek pipeline requires a samplesheet to define the input samples and their data.
1.1 Download the Samplesheet (samplesheet.csv):
The samplesheet for nf-core/sarek typically has columns like patient, sample, lane, fastq_1, fastq_2.
You can download an example template or a pre-filled example of samplesheet.csv here: Download samplesheet.csv
1.2 Upload to Stash:
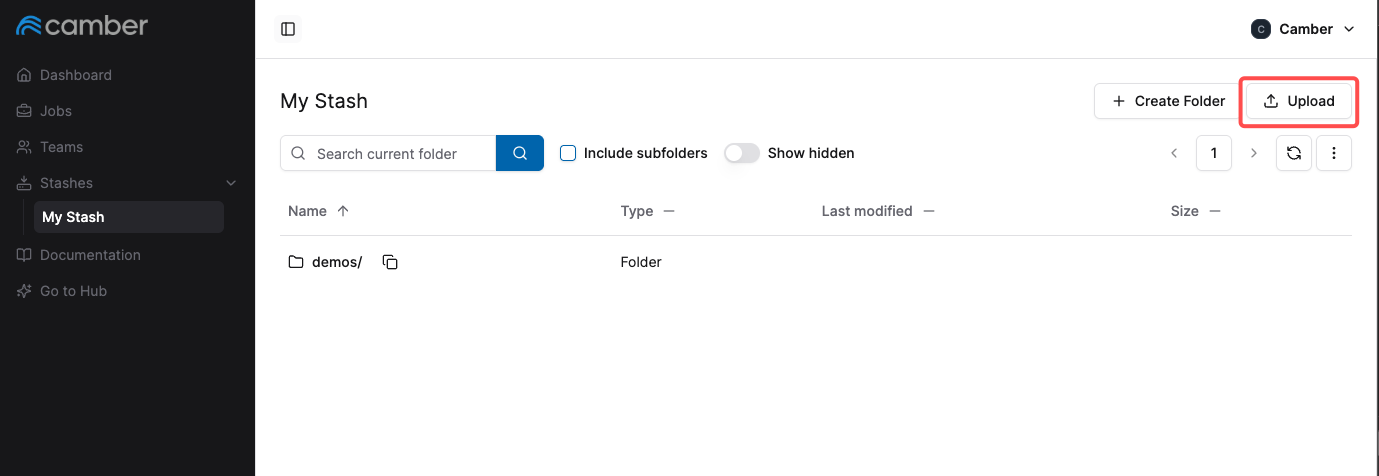
- Open your Camber Stash in your web browser.
- Click the upload button.

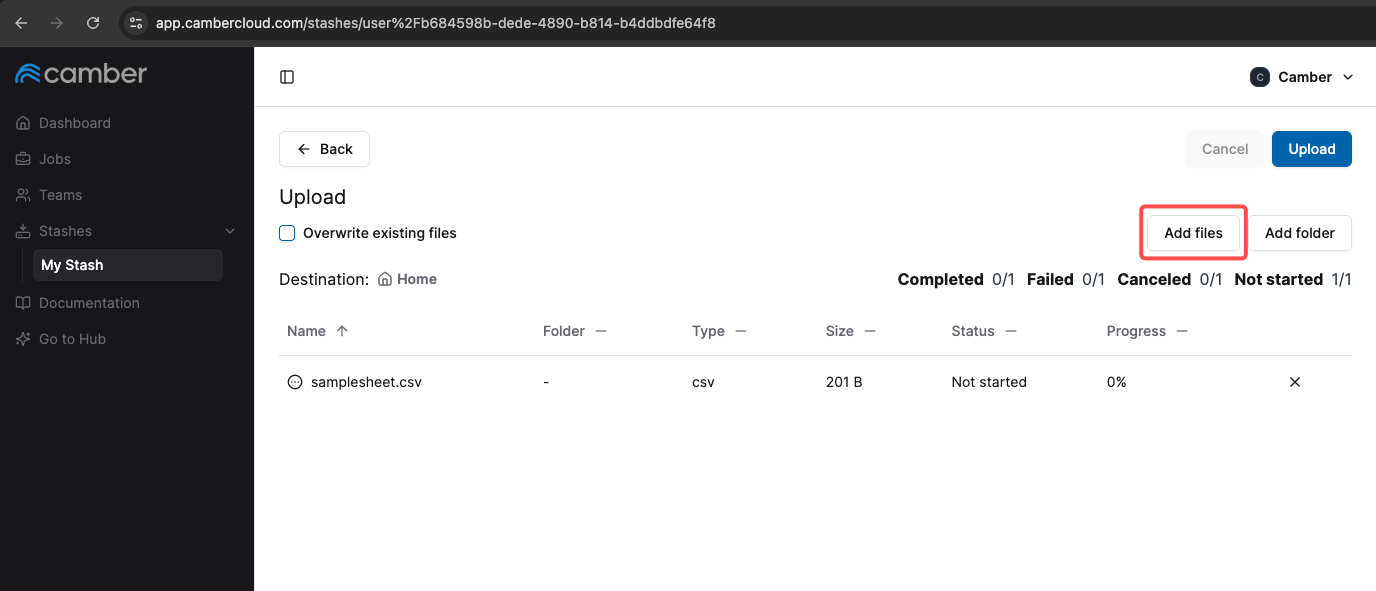
- In the upload screen that appears, select the
samplesheet.csvfile from your local machine. - Start the upload and wait for confirmation that the upload was successful.

Your samplesheet.csv should now be in your Stash.
2. Create and Run the Nextflow Job via Jupyter Notebook
Now, go to your Camber Hub and open or create a new Jupyter Notebook. You’ll use the Camber SDK to define and launch the nf-core/sarek pipeline.
import camber.nextflow

command = "nextflow run nf-core/sarek \
    --input ./samplesheet.csv \
    --outdir ./outputs \
    --tools freebayes \
    -r 3.5.1"

nf_sarek_job = camber.nextflow.create_job(
    command=command,
    node_size="MICRO",
    num_nodes=4
)

print(f"Submitted Nextflow job ID: {nf_sarek_job.job_id}")

# View logs directly
nf_sarek_job.read_logs(tail_lines=50)